From the journal
Step-by-Step Guide to Building a Custom WordPress Theme
Designing a new WordPress theme from scratch enables one to design a website that is unique and in line with the intended brand image.

Designing a new WordPress theme from scratch enables one to design a website that is unique and in line with the intended brand image. Even though it might seem like a big challenge, it is quite possible to make a professional-looking theme even if you are not a coding guru. Here’s a step-by-step guide to help you get started:Here’s a step-by-step guide to help you get started:
1. Set Up a Local Development Environment

First, it is recommended to create a local environment for testing the theme to avoid affecting the live site. Applications such as Local by Flywheel or XAMPP can help you set up a local server on your computer. This enables you to test and fix your theme before you make it live on your website or blog.
2. Choose a Starter Theme
There is also a possibility of using a starter theme when developing your theme instead of developing it from the ground up. Starter themes give the user more of a framework and basic features so that they do not have to build everything from scratch. Some of the most used starter themes are Underscores, Genesis, and Astra. These themes include basic features and are coded to WordPress guidelines, which makes them ideal for novices.
3. Understand WordPress Theme Structure
WordPress themes are a collection of several template files that are responsible for the different parts of your site. These files include:
Header: Determines the header part of your web pages
Footer: Specifies the lower part of your pages
Index: The template file that consists of the primary content of the blog and the posts.
Single: Shows specific posts to the blog.
Page: Displays individual pages
Sidebar: Describes the sidebar region
Style: Responsible for defining the CSS styles for your theme
Make yourself acquainted with these files and their position to make your theme well-ordered and efficient.
4. Customize Your Theme
That’s when the real work begins, when you have your local environment established and a starter theme in place. Customize your theme using the WordPress Customizer to change the looks of your theme including colors, fonts, and layout. You can also develop child themes that will enable you to make changes without having to edit the parent theme files.
5. Add Functionality with Plugins
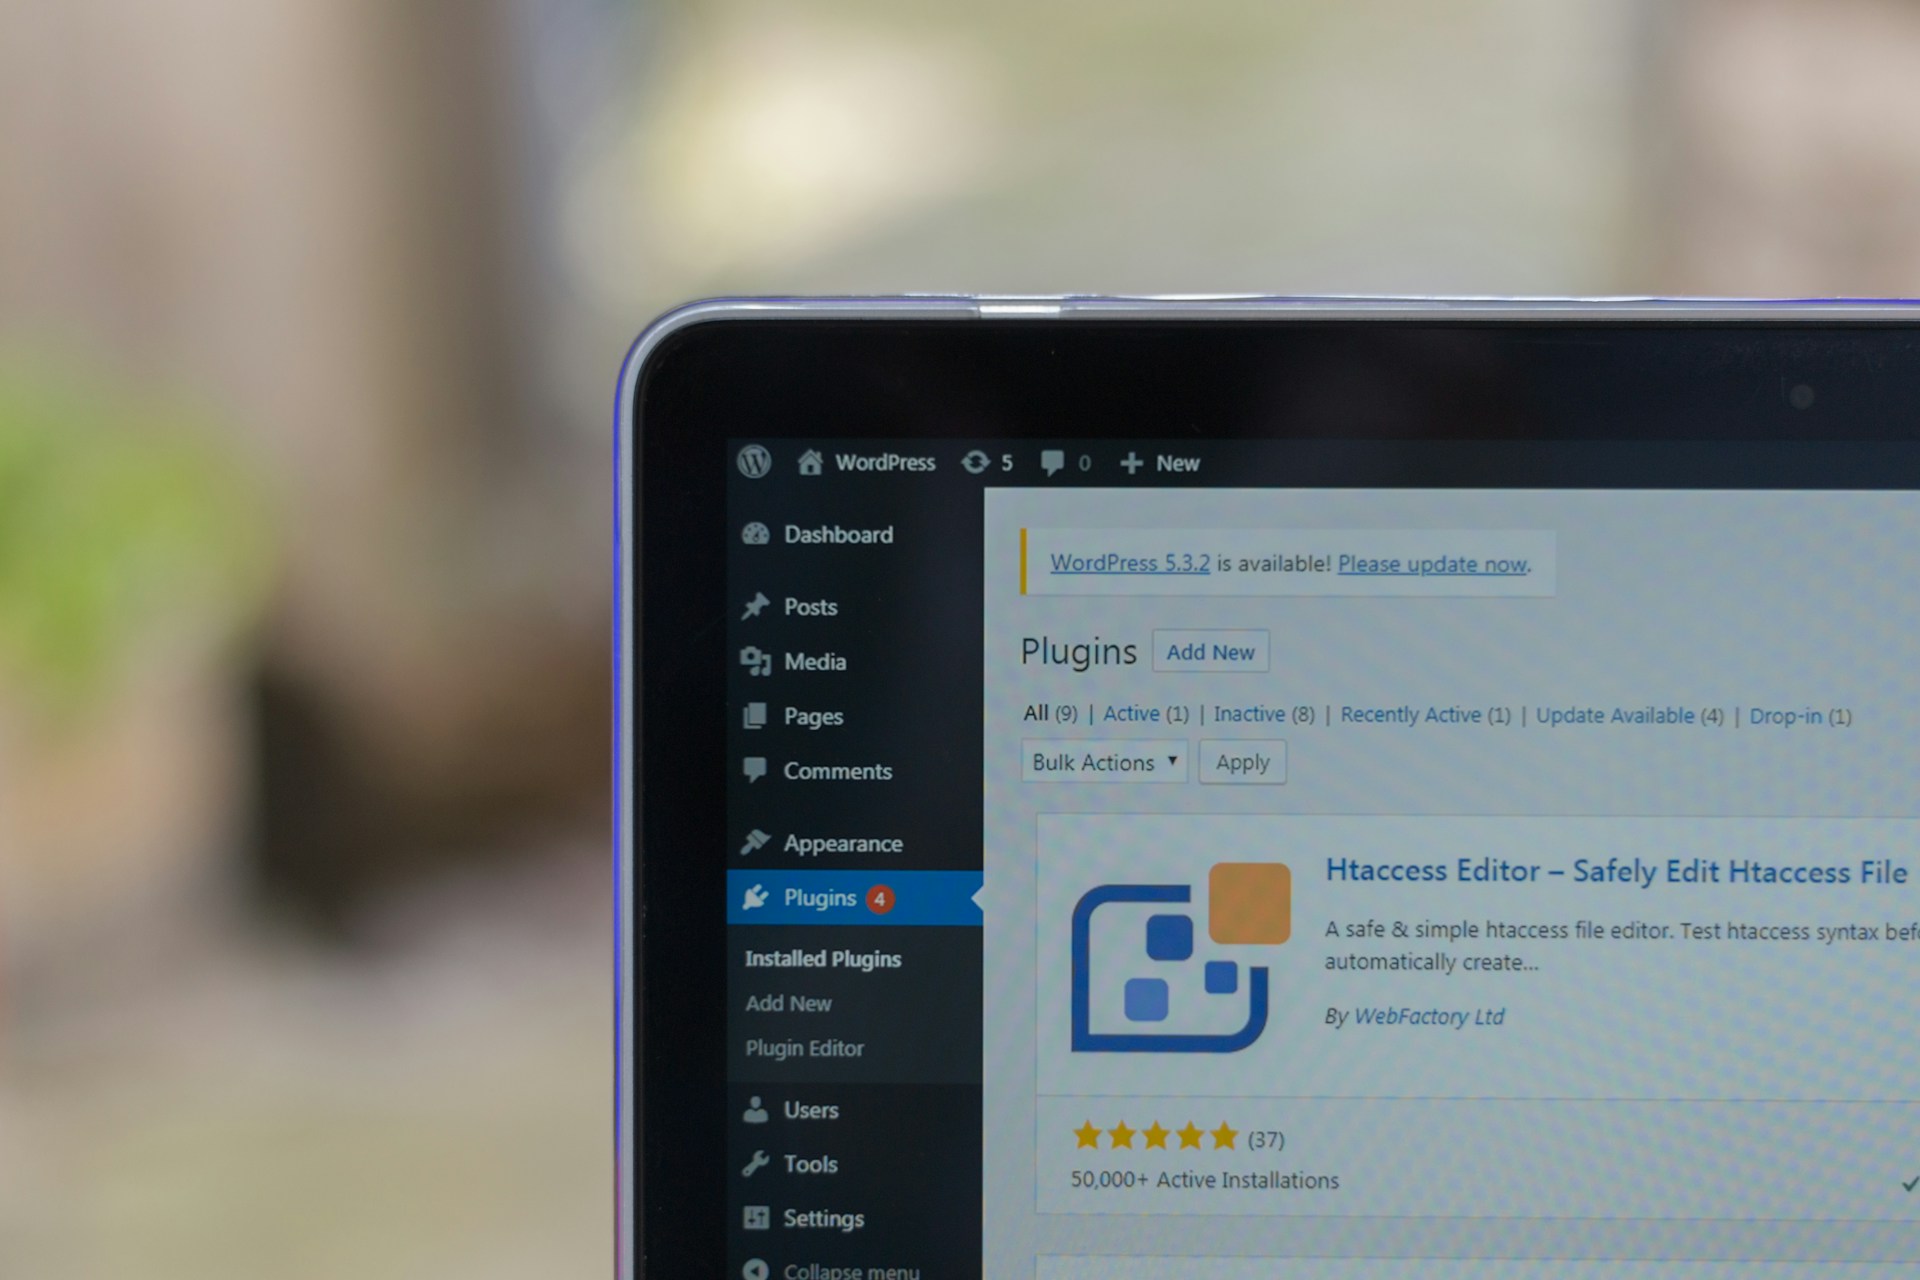
WordPress plugins can add up on the functionality of your theme without necessarily having to write much code. Plugins can be as simple as a contact form or as complex as integration with social networks. While choosing the plugins, they should be compatible with the theme and updated frequently for security and performance.
6. Test and Debug
Before launching your theme, it is important to check it on different devices and browsers to avoid any issues. Check your code in browser developer tools to find out any problems or problems that may be present in your code. Also, run your theme through Theme Check to check whether your theme is compliant with WordPress coding standards and best practices.
7. Package and Deploy Your Theme
After your theme is developed and you have tested it, deploy the theme or distribute it. Move all the files in your theme into a ZIP file and add the stylesheet that contains details about the theme including the name, description and the author. If your intention is to make your theme available on the WordPress Theme Directory then you need to conform to their requirements and get your theme approved.
Conclusion
Developing a custom WordPress theme is not that hard and it will definitely pay off in the long run. Based on the given instructions and sources, it is possible to develop an individual and effective theme that will improve the website’s performance and attract the target audience. Always keep it clean, keep it standard, and always test and tweak your theme for performance.